

How to Repair Roof Tiles
How to Repair Roof Tiles
In the blog post "How to Repair Roof Tiles," you will discover comprehensive guidance on handling roof tile damage effectively. From understanding the signs of damaged tiles to learning the importance of timely repairs, this article will equip you with the knowledge needed to maintain a durable and secure roof. Whether you choose to tackle the repairs yourself using our detailed DIY methods or opt to hire a professional contractor, this post will provide you with valuable insights to help you make an informed decision that best suits your needs. Stay tuned for expert tips on roof tile repair and maintenance to ensure the longevity and functionality of your roof.
Understanding Roof Tile Damage
When it comes to understanding roof tile damage, it is essential to be able to recognize the signs of potential issues early on. This includes looking for cracked, chipped, or missing tiles, as well as any noticeable water stains on the ceiling or walls inside the house. Roof tiles can also become dislodged due to weather conditions or general wear and tear, leading to vulnerabilities in the roof's structure. Understanding these damages is crucial for timely repairs to prevent further problems and maintain the integrity of your roof.
Signs of Damaged Roof Tiles
Signs of Damaged Roof TilesSigns of damaged roof tiles are crucial to identify early to prevent further issues and costly repairs. Some common indicators of roof tile damage include:1. Missing or Displaced Tiles: If you notice any tiles that are cracked, broken, or completely missing from your roof, it's a clear sign of damage.2. Water Stains on Ceilings: Water stains on your ceilings or walls may indicate a leak caused by damaged roof tiles.3. Sagging Roof: A sagging roofline can be a sign of structural damage, often caused by broken or deteriorating roof tiles.4. Granules in Gutters: Finding granules from the tiles in your gutters could signal that the tiles are deteriorating and may need repair.5. Interior Water Damage: Water leaks inside your home, especially during or after rainfall, point to potential roof tile damage.By being vigilant and identifying these signs early on, you can address roof tile damage promptly and prevent further issues that could compromise the integrity of your roof.
Importance of Timely Repairs
Timely repairs for roof tile damage are crucial to maintaining the structural integrity of your roof and preventing further issues. Ignoring or delaying repair work can lead to more extensive damage, resulting in costly repairs down the line. By addressing roof tile damage promptly, you can ensure that minor issues do not escalate into major problems that compromise the safety and security of your home. Regular roof maintenance and timely repairs also help extend the lifespan of your roof, saving you money in the long run. Prioritizing the timely repair of roof tiles is a proactive approach to protecting your property and preserving the value of your home.
DIY Roof Tile Repair Methods
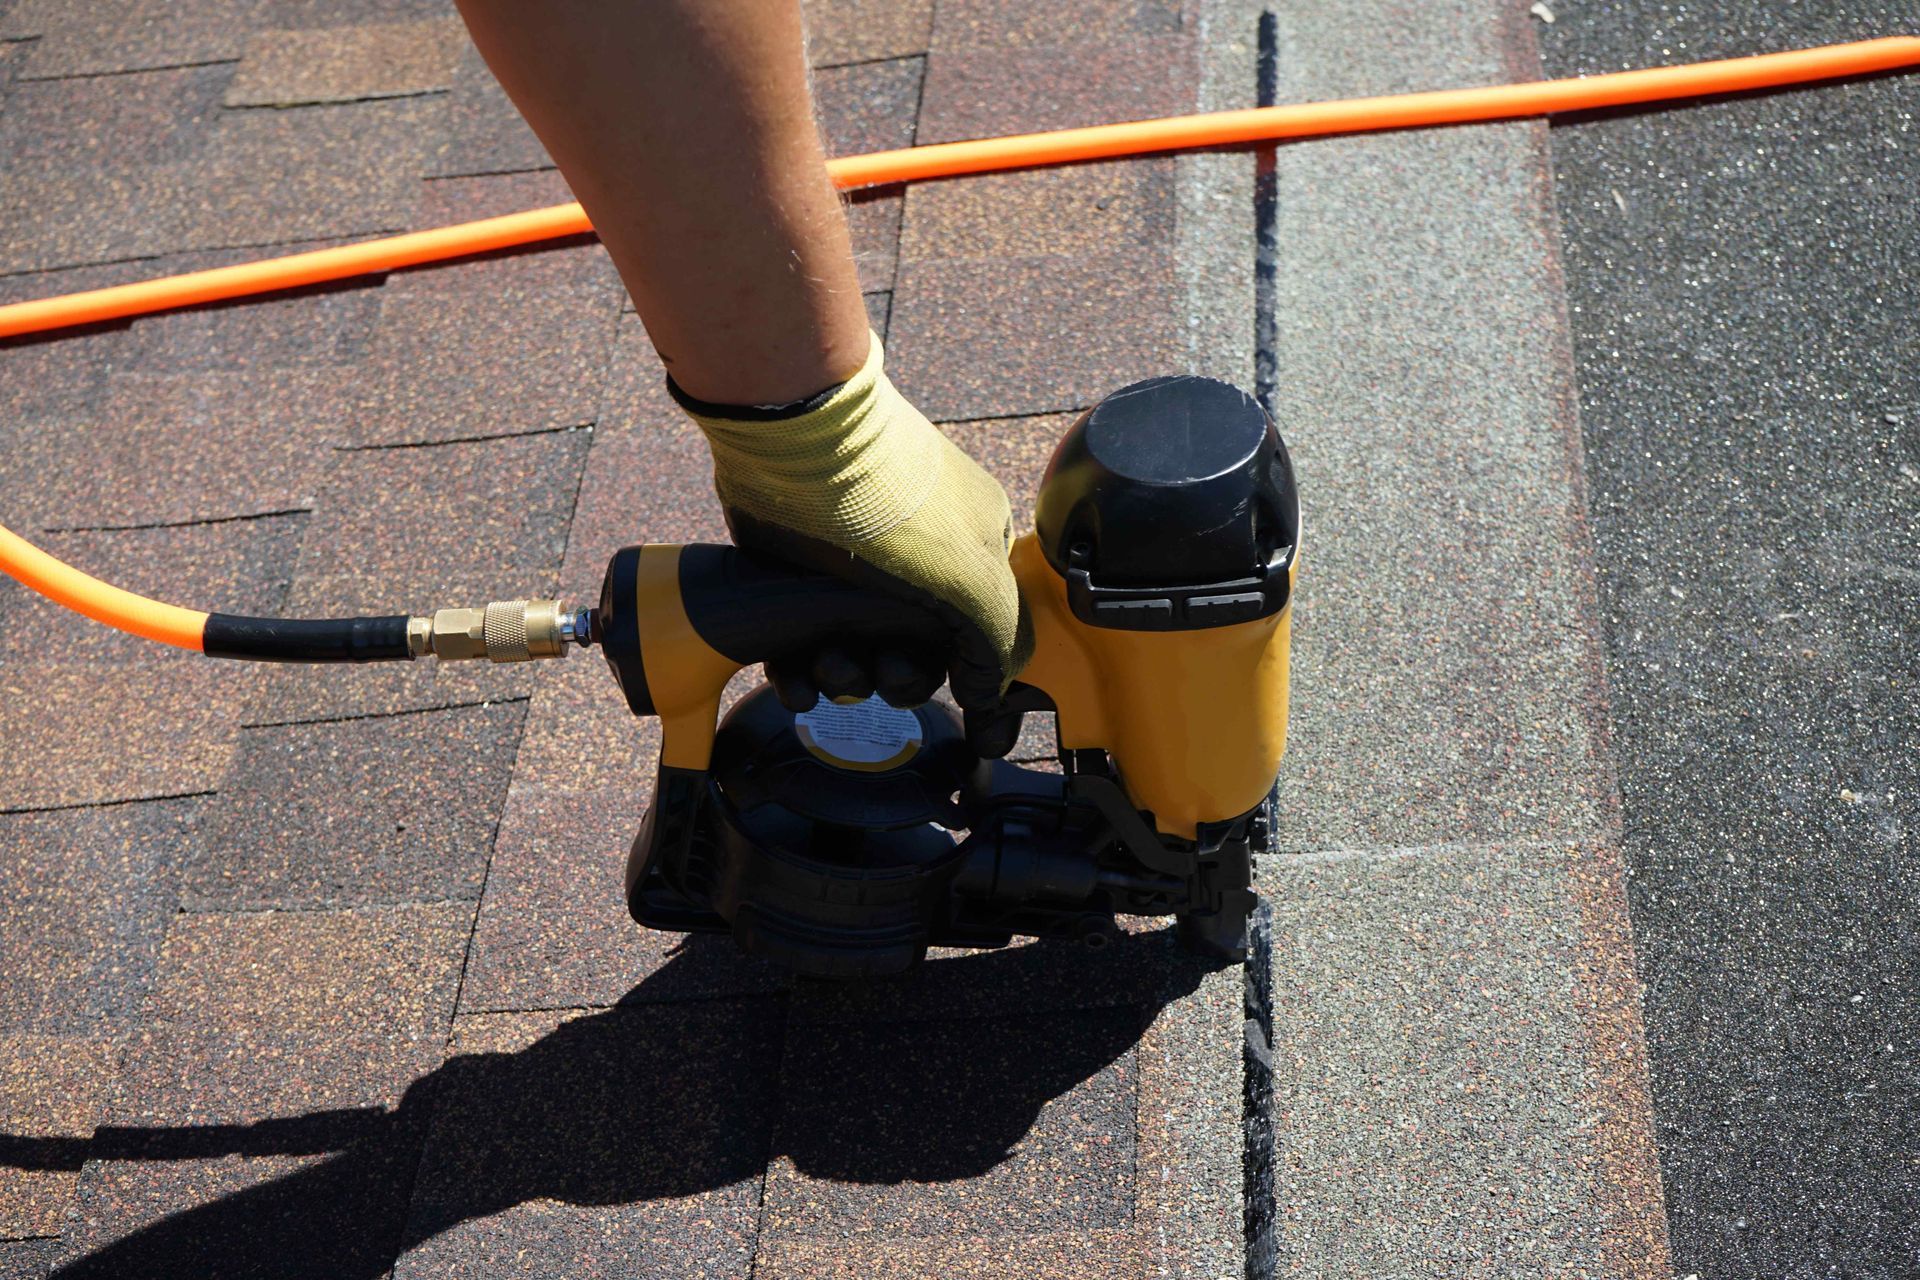
When it comes to DIY roof tile repair methods, having the right tools and materials is crucial for a successful outcome. Before starting any repair work, ensure you have the necessary supplies on hand. Common tools include a hammer, roofing nails, a utility knife, and a caulking gun. Materials such as replacement roof tiles, roofing cement, and waterproof sealant will also be needed to complete the repair. It's important to follow a step-by-step process to ensure that the repair is done correctly and effectively. Remember to prioritize safety and take your time to avoid any mistakes that could lead to further damage to your roof.
Tools and Materials Needed
When it comes to DIY roof tile repair, having the right tools and materials is crucial for a successful outcome. Here are some essential items you will need to repair roof tiles effectively:1. Safety Gear: Always wear appropriate safety gear such as gloves, safety glasses, and a hard hat to protect yourself from any potential hazards.2. Ladder: A sturdy ladder that reaches the roof safely is essential for accessing the damaged area.3. Replacement Tiles: Have extra roof tiles that match your existing ones on hand to replace any that are cracked, chipped, or missing.4. Roofing Adhesive: A quality roofing adhesive will help secure the replacement tiles in place.5. Caulk or Sealant: Use caulk or sealant to fill in any gaps between tiles to prevent water leaks.6. Hammer and Nails: These tools are necessary for securing loose tiles back into place.7. Roofing Cement: Roofing cement can help reinforce the repair and provide additional protection against water infiltration.Having these tools and materials readily available will make the roof tile repair process smoother and more efficient. Always follow safety guidelines and manufacturer instructions when using these items to ensure a successful repair job.
Step-by-Step Repair Process
The step-by-step repair process for roof tiles involves a systematic approach to addressing damage and restoring the functionality of your roof. Here is a detailed guide to help you navigate through the repair process effectively:1. **Assessment**: Begin by inspecting your roof tiles to identify the extent of the damage. Look for cracked, chipped, or missing tiles that require immediate attention.2. **Gather Materials**: Before starting the repair, gather all the necessary tools and materials. This typically includes replacement tiles, roofing adhesive, a hammer, a pry bar, safety goggles, and gloves.3. **Safety Precautions**: Prioritize safety by wearing appropriate protective gear, such as gloves and goggles, to prevent injuries during the repair process.4. **Remove Damaged Tiles**: Carefully remove the damaged tiles by using a pry bar to lift them away from the roof. Take caution to avoid causing additional damage to surrounding tiles.5. **Clean the Area**: Clear debris and dust from the area where the damaged tiles were removed. Ensure the surface is clean and free of any obstructions before proceeding.6. **Prepare the Surface**: Apply roofing adhesive to the underside of the replacement tile and position it correctly over the empty space. Press down firmly to secure the tile in place.7. **Secure the Tile**: Use additional adhesive or nails to secure the replacement tile firmly to the roof. Ensure that the tile is aligned with the surrounding tiles for a seamless finish.8. **Inspect and Test**: Once the repair is complete, inspect the area to verify that the replacement tile is secure and properly installed. Test the repair by gently applying pressure to the tile to ensure its stability.By following these step-by-step instructions, you can effectively repair your roof tiles and maintain the structural integrity of your roof. Remember to take your time with each repair to ensure quality workmanship and long-lasting results.
Hiring a Professional Contractor
Hiring a Professional ContractorWhen it comes to repairing roof tiles, sometimes the best course of action is to hire a professional contractor. Here's why opting for a roofing expert can benefit you:1. Expertise and Experience: Professional contractors have the knowledge and experience to assess your roof's condition accurately. They can identify underlying issues that may not be immediately apparent to untrained eyes.2. Quality Workmanship: Roofing experts are skilled in handling various types of roof repairs, including tile replacements. Their work is often of higher quality and ensures the durability of the repair.3. Time and Cost Efficiency: While a DIY approach can be tempting, hiring a professional contractor can save you time and money in the long run. Contractors have access to the right tools and materials, which reduces the chances of errors and costly rework.4. Safety Considerations: Roof repairs can be hazardous, especially when working at heights. Professional contractors are trained in safety protocols and have the necessary equipment to perform the job safely.5. Warranty and Guarantees: Reputable contractors often provide warranties for their work, giving you peace of mind that the repair is covered in case of any issues post-repair.By choosing a professional contractor for your roof tile repair needs, you can ensure a thorough and reliable repair that enhances the longevity and functionality of your roof.
Benefits of Hiring a Roofing Expert
When it comes to repairing roof tiles, hiring a professional roofing expert can offer numerous advantages. Here are some key benefits:1. Expertise and Experience: Roofing experts have the knowledge and experience to accurately assess roof tile damage and recommend the best repair solutions. 2. Quality Workmanship: Professional roofers are trained to deliver high-quality results, ensuring that your roof repair is done correctly and will last.3. Time and Cost-Efficiency: By hiring a roofing expert, you can save time and money in the long run. They work efficiently, reducing the risk of mistakes that could lead to costly repairs later.4. Safety: Working on roofs can be dangerous, but roofing professionals are equipped with the necessary safety gear and training to handle repairs safely.5. Warranty and Guarantee: Many roofing experts provide warranties on their work, giving you peace of mind that your roof repair is protected.6. Access to Specialized Tools: Roofing experts have access to specialized tools and equipment to perform repairs effectively and efficiently.By enlisting the services of a roofing expert, you can ensure that your roof tile repair is done professionally, safely, and with lasting results.
How to Choose the Right Contractor
When choosing a contractor for your roof tile repair needs, it's essential to consider several factors to ensure you hire the right professional for the job. Here are some key points to keep in mind to help you select the best contractor:1. Experience and Expertise: Look for contractors with extensive experience in repairing roof tiles. Verify their expertise by checking their track record and past projects.2. Licensing and Insurance: Make sure the contractor is licensed and insured. This protects both you and the contractor in case of any accidents or damages during the repair process.3. Reputation and Reviews: Check online reviews, testimonials, and ratings of the contractor. A good reputation and positive feedback from previous clients indicate reliability and quality work.4. Cost and Estimates: Get detailed estimates from multiple contractors to compare pricing and services offered. Choose a contractor who provides a transparent breakdown of costs.5. Warranty and Guarantees: Inquire about the warranty and guarantee policies of the contractor. A reputable contractor should offer warranties on their workmanship and materials used.6. Communication and Professionalism: Consider the contractor's communication style and professional demeanor. A contractor who is responsive, attentive, and clear in their communication is more likely to provide a satisfactory experience.By carefully evaluating these factors and doing thorough research before hiring a contractor, you can ensure that your roof tile repair project is in good hands and will be completed with professionalism and quality craftsmanship.
Conclusion and Final Tips
In conclusion, repairing roof tiles can be a manageable task with the right knowledge and tools. By understanding the signs of damaged roof tiles and the importance of timely repairs, you can address issues promptly. Whether you choose to undertake a DIY repair or hire a professional contractor, safety should always be a top priority. Remember to follow the step-by-step repair process diligently, using the proper tools and materials for the job.For those opting to hire a professional contractor, consider the benefits of their expertise and the peace of mind that comes with a job well done. Take the time to research and choose a reputable roofing expert who aligns with your needs and budget. Communication is key when working with contractors, so be clear about your expectations and ask any questions you may have before the repair begins.Lastly, maintaining your roof's condition is essential to prolonging its lifespan and ensuring the safety and comfort of your home. Regular inspections and timely repairs can prevent more significant issues down the line. By following the tips outlined in this blog post, you can tackle roof tile repairs effectively and keep your roof in top shape for years to come.


Quick & Reliable roof repair and installation Savannah Georgia
Ready to secure your property with top-tier roofing? Contact us today for reliable solutions that stand the test of time—your trusted Savannah roofing partner – Top Roof.
Navigation
Working hours
- Mon - Fri
- -
- Saturday
- -
- Sunday
- Closed
Powered by: WebPro.ai