

How to Repair Roof Flashing
How to Repair Roof Flashing
Roof flashing plays a crucial role in maintaining the integrity of your roof. In this comprehensive guide on how to repair roof flashing, we will walk you through the process of assessing, removing, and installing new flashing to protect your roof from potential damage. Whether you choose to tackle this project as a DIY enthusiast or opt to hire a professional roofer, our step-by-step instructions and expert tips will ensure that your roof flashing is in top condition, enhancing the longevity and performance of your roof.
Understanding Roof Flashing
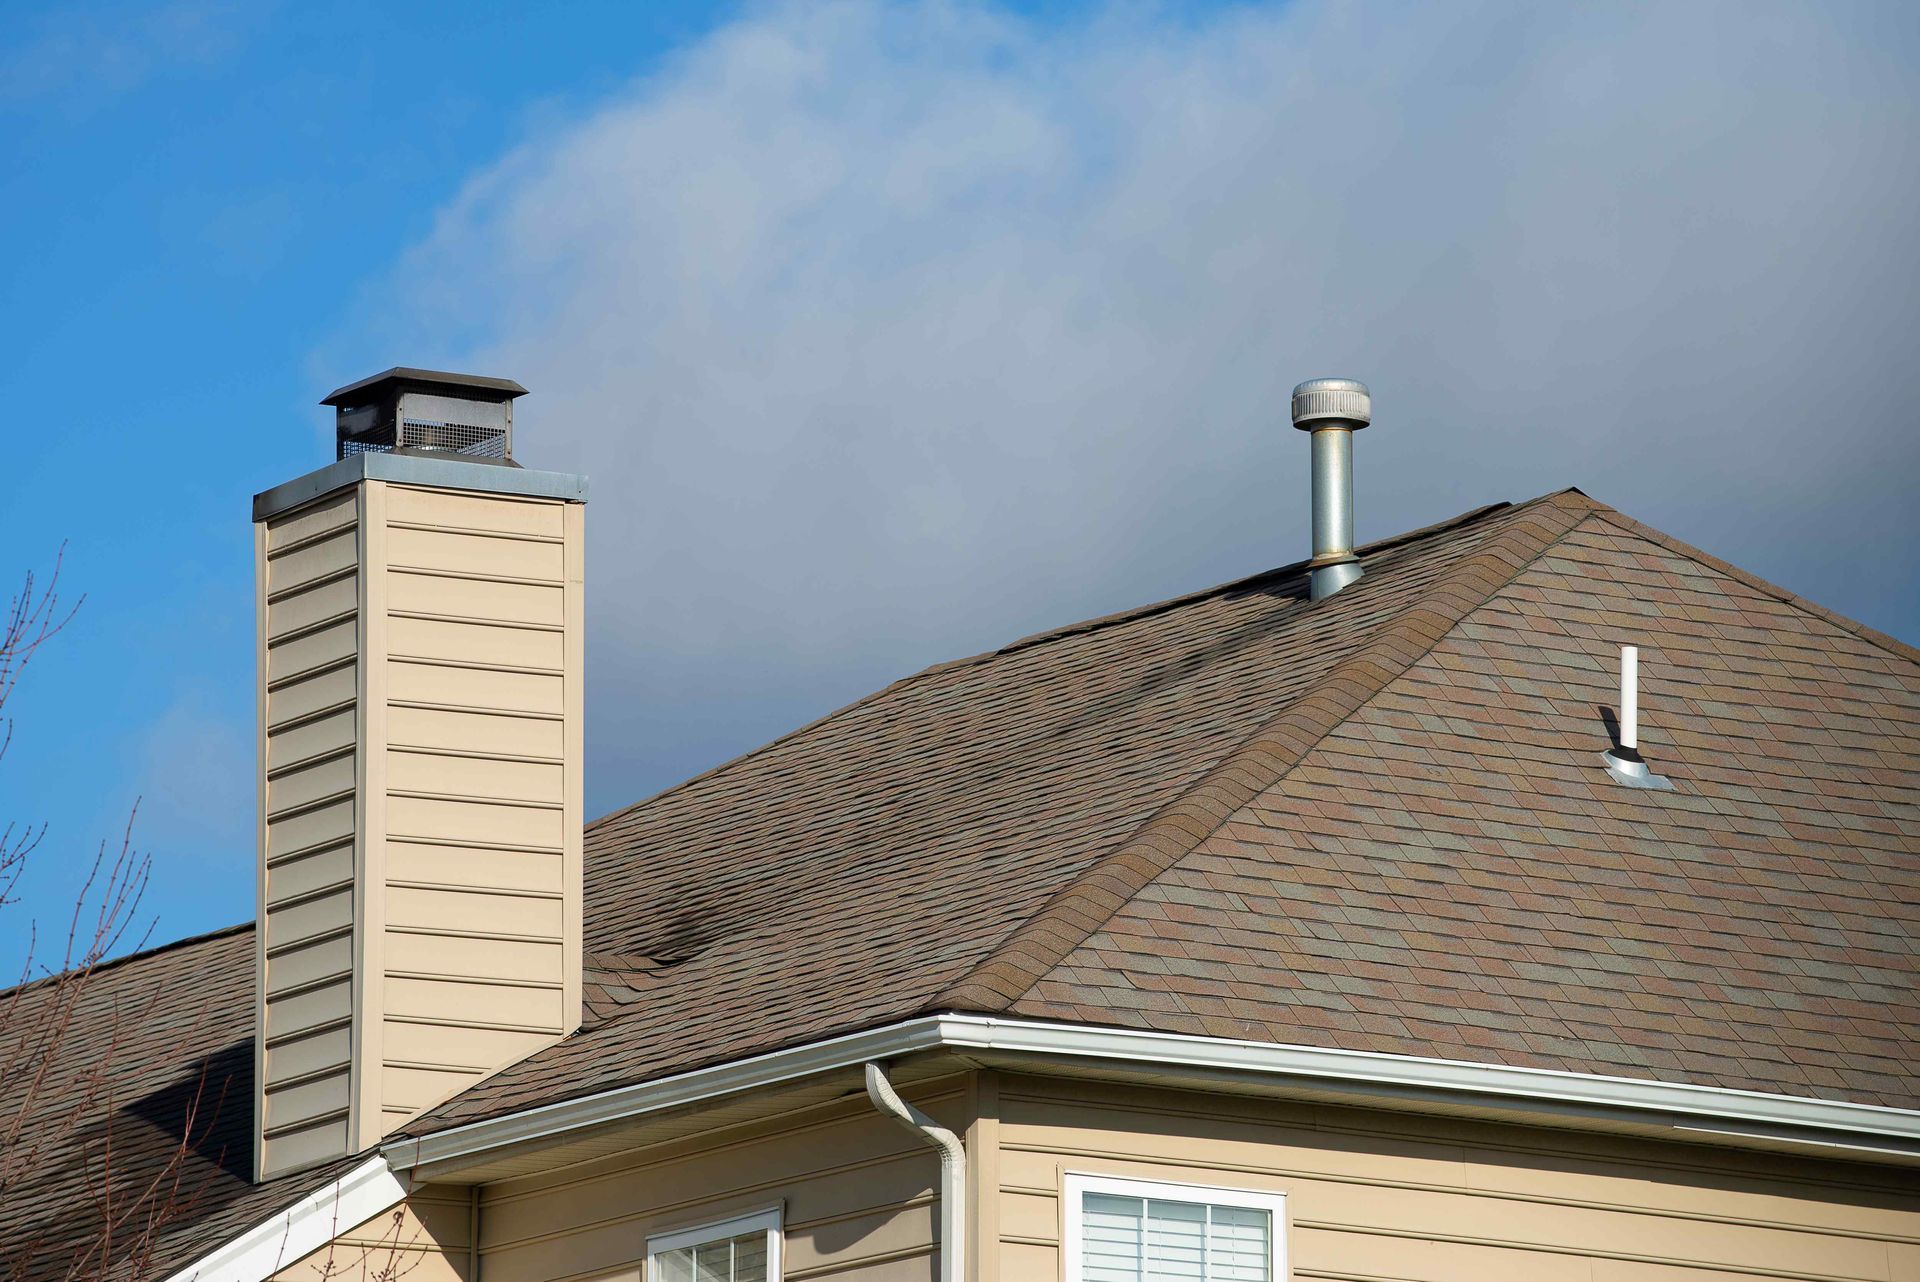
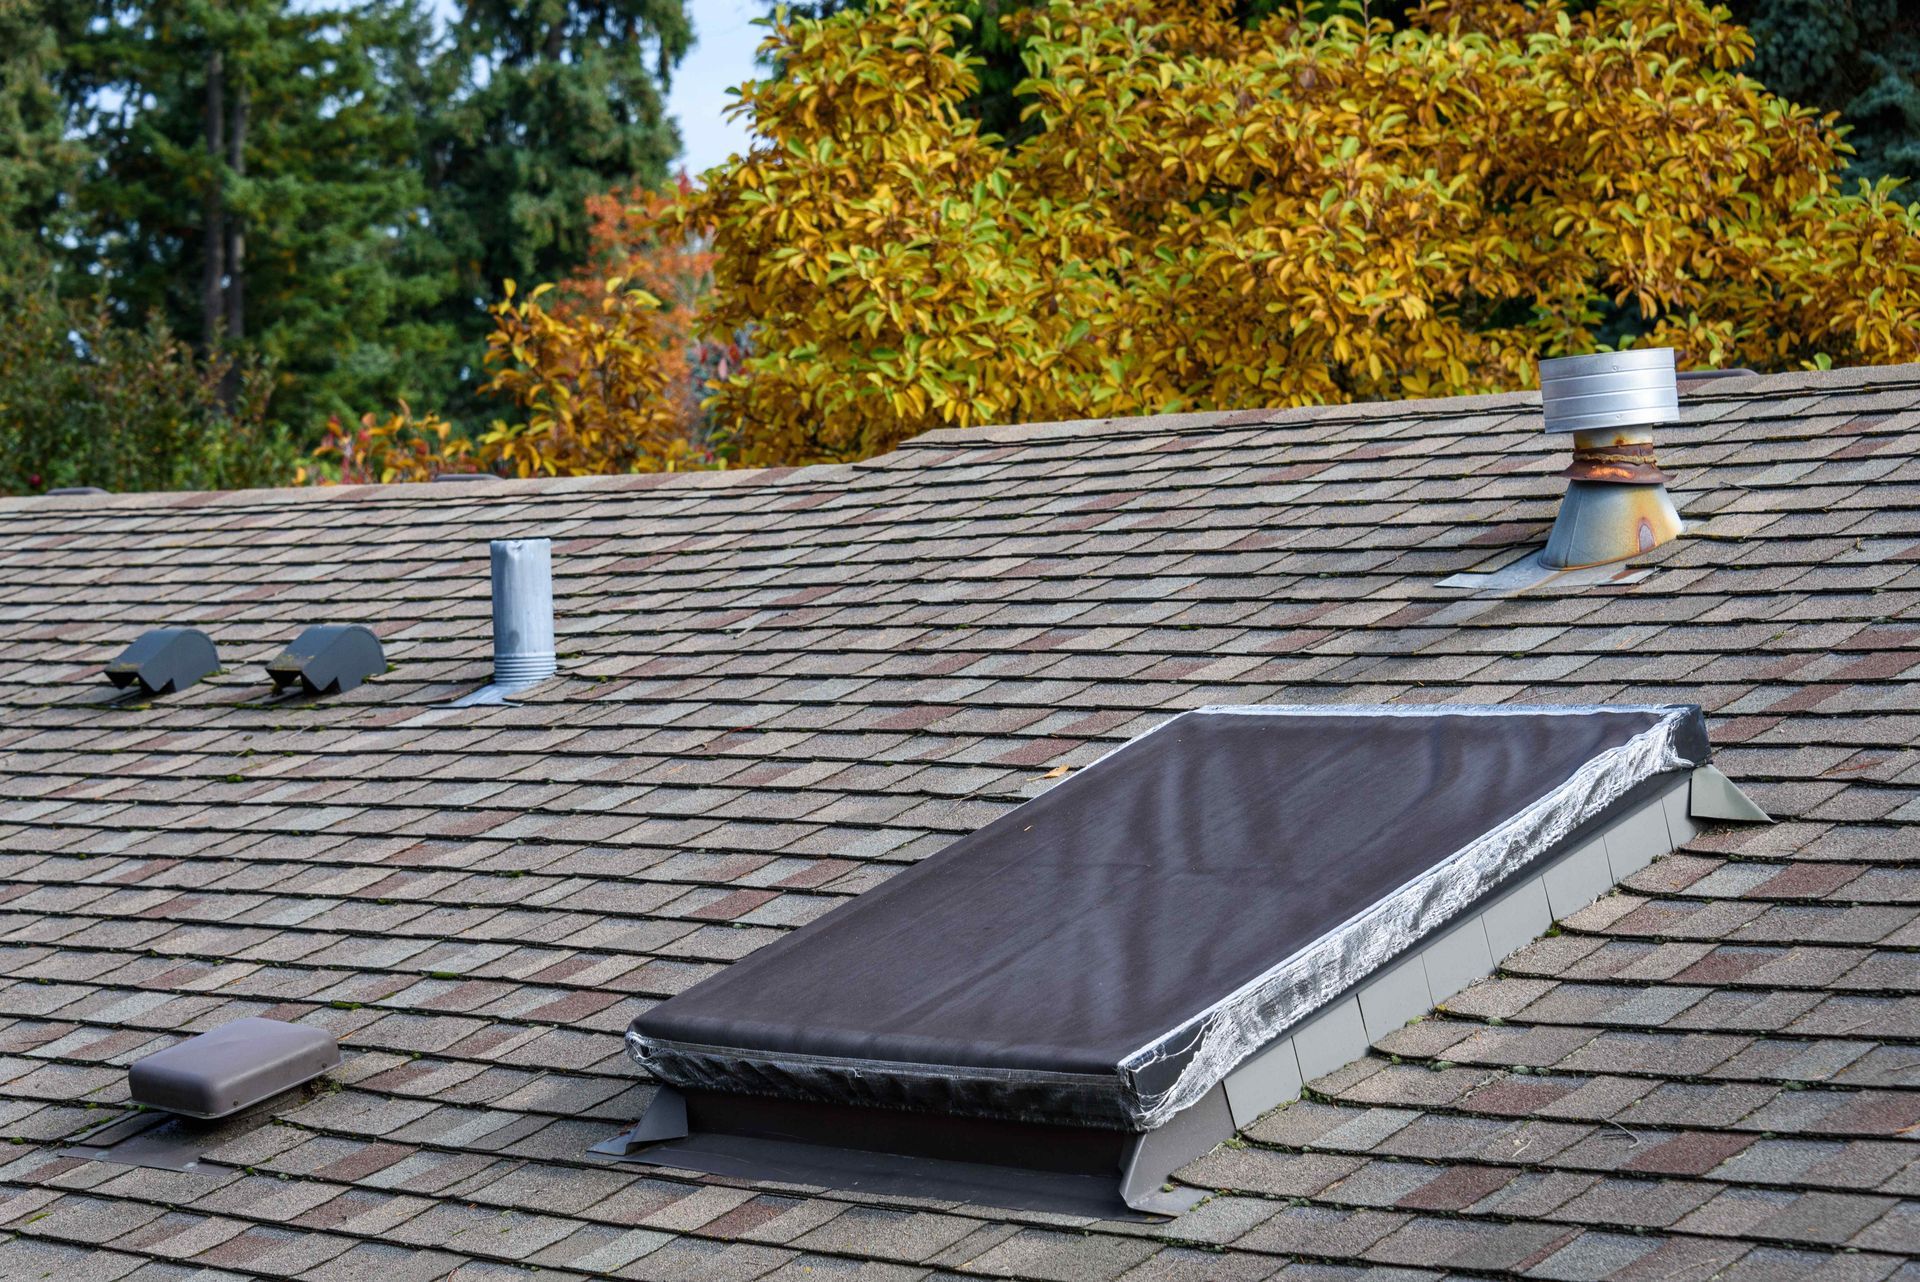
Understanding Roof FlashingRoof flashing is a critical component that prevents water from seeping into your home through the roof joints and intersections. It is typically made of metal or other weather-resistant materials and is installed around chimneys, skylights, vents, and other areas where the roof meets a vertical surface. Properly installed flashing enhances the roof's waterproofing capabilities and helps extend its lifespan. Understanding the purpose and importance of roof flashing is essential before embarking on any repair or maintenance procedures.
DIY Roof Flashing Repair Steps
When it comes to repairing roof flashing on your own, following a structured approach is essential for a successful outcome. Before diving into the repair process, make sure to assess the damage thoroughly and gather all the necessary tools and materials. Prepare the work area by ensuring it's safe and accessible. The key steps for DIY roof flashing repair typically include removing the old flashing carefully to avoid causing further damage to the roof or surrounding areas. Once the old flashing is removed, you can proceed with installing new flashing, making sure it fits securely and is sealed properly to prevent any water penetration. Prioritize safety and attention to detail throughout the repair process to ensure a lasting and effective solution for your roof flashing issues.
Assessing the Damage
Assessing the damage to your roof flashing is the crucial first step in the repair process. Begin by inspecting the flashing for signs of wear, corrosion, or damage. Look for any cracks, gaps, or loose sections that may allow water to seep in. Check the flashing around chimneys, vents, and any intersecting roof surfaces. Water stains on ceilings or walls inside your home can also indicate flashing issues. Take note of any rust or deterioration that could compromise the effectiveness of the flashing. Proper assessment ensures that you address the underlying problems and execute the necessary repairs effectively.
Gather Necessary Tools and Materials
Before starting your roof flashing repair project, it's crucial to have the right tools and materials on hand. Here is a list of items you may need:1. Safety gear: Safety should always come first. Ensure you have gloves, safety glasses, and a sturdy ladder to work comfortably and securely at heights.2. Flashing material: Depending on your roof type and existing flashing, you may need metal flashing, rubber flashing, or another appropriate material to replace the old flashing.3. Roofing cement or sealant: This will help secure the new flashing in place and create a watertight seal to prevent leaks.4. Hammer and nails/screws: These will be necessary for fastening the new flashing to the roof securely.5. Pry bar or flathead screwdriver: These tools will be useful for removing the old flashing without damaging the roof or surrounding materials.6. Roofing caulk: Caulk can help seal any gaps or spaces between the flashing and roof surface to prevent water infiltration.7. Measuring tape: Accurate measurements are crucial to cutting the new flashing to the correct size for a proper fit.8. Cleaning supplies: Before installing the new flashing, make sure to clean the work area to ensure proper adhesion and seal for the new materials.Having these tools and materials ready before you begin the repair process will help streamline the project and ensure you can work efficiently and effectively to repair your roof flashing.
Preparing the Work Area
Before you begin repairing roof flashing, it is crucial to prepare the work area properly to ensure a safe and successful repair. Here are essential steps to prepare your work area:1. Clear the Surrounding Area: Remove any debris, tools, or other items from the work area to create a clean and clutter-free space. This will make it easier to move around and prevent accidents during the repair process.2. Use Safety Equipment: Prioritize safety by wearing appropriate safety gear such as gloves, safety goggles, and sturdy footwear. Additionally, consider using a ladder stabilizer if you need to work at a height.3. Secure Tools and Materials: Gather all the necessary tools and materials required for the repair, including new flashing, roofing cement, a caulking gun, a utility knife, a hammer, and nails. Having everything on hand will streamline the repair process and prevent delays.4. Check Weather Conditions: Ensure that you schedule the repair on a dry day to prevent any interference from rain or moisture. Working in dry weather will allow the materials to bond and seal effectively.5. Establish a Safe Work Zone: Use caution tape or safety cones to mark off the work area and alert household members or passersby about the repair work in progress. This will help prevent unwanted disturbances and ensure a safe working environment.By preparing the work area thoroughly before starting the roof flashing repair, you set the stage for a smooth and efficient repair process. Prioritizing safety and organization will help you achieve a successful outcome and maintain the integrity of your roof.
Removing Old Flashing
When it comes to repairing roof flashing, one essential step is removing the old flashing. This process requires careful attention to avoid causing further damage to your roof. To start, gather your safety gear including gloves and safety goggles. Use a pry bar or a specific tool for flashing removal to carefully lift and separate the old flashing from the roof surface. Take care not to damage the roof or surrounding materials during this process. Inspect the area underneath the old flashing for any signs of water damage or decay that may need attention before installing the new flashing. Proper removal of the old flashing sets the stage for a successful repair job that ensures the continued protection of your roof against the elements.
Installing New Flashing
After successfully removing the old, damaged flashing, it's time to install the new flashing to ensure the integrity of your roof. Start by measuring the specific areas where the new flashing will be installed to ensure a precise fit and optimal coverage. Choose high-quality flashing material that is durable and weather-resistant for long-lasting protection. When securing the new flashing, focus on proper alignment and snug fitting to prevent any gaps that could lead to water penetration. Utilize appropriate sealants and fasteners to secure the flashing in place securely. Take extra care around corners and joints to ensure a watertight seal. Once the new flashing is installed, conduct a thorough inspection to verify its placement and effectiveness in safeguarding your roof against moisture and leaks.
Hiring a Professional Roofer
When it comes to complex roof repairs or if you're not comfortable with DIY solutions, hiring a professional roofer is a wise decision. Researching and selecting a reputable contractor is crucial to ensure quality workmanship and a reliable outcome for your roof flashing repair needs. Obtain multiple quotes and estimates from different contractors to compare pricing and services offered. Once you've selected a contractor, ensure they are licensed, insured, and have a good reputation in the industry. Throughout the repair process, it's essential to supervise the work to guarantee that the job is done to your satisfaction and meets industry standards. Hiring a professional roofer can provide peace of mind knowing that your roof flashing repair is in expert hands and will be completed effectively.
Researching and Selecting a Contractor
When it comes to hiring a professional roofer to assist with repairing your roof flashing, it's essential to conduct thorough research and carefully select a contractor. Start by asking for recommendations from friends, family, or neighbors who have had positive experiences with roofers in the past. Additionally, search online for local roofing companies and read reviews to gauge their reputation and quality of work. Look for contractors who specialize in roofing repairs and have experience working with flashing systems. Once you have a list of potential contractors, reach out to them to discuss your project and request quotes. Ask about their credentials, insurance coverage, and warranties offered on their work. Compare the quotes and consider factors such as expertise, reliability, and cost before making a decision. Selecting a reputable and skilled contractor ensures a successful roof flashing repair job that will protect your home for years to come.
Obtaining Quotes and Estimates
When obtaining quotes and estimates for your roof flashing repair, it's important to gather information from multiple contractors to make an informed decision. Request detailed quotes that outline the scope of work, materials needed, and estimated timeline for completion. Consider factors such as the contractor's experience, reputation, and availability when comparing quotes. Remember that the cheapest option may not always be the best choice, as quality workmanship is essential for long-lasting results. Take the time to review and understand each quote before making your final decision to ensure that you're getting a fair price and value for your repair project.
Hiring the Contractor
When hiring a contractor for your roof flashing repair, it's crucial to follow a thorough selection process. Research potential contractors by checking online reviews, asking for referrals from friends or family, and verifying their credentials and certification. Obtain quotes and estimates from multiple contractors to compare pricing and services. During the hiring process, communicate your expectations clearly and discuss the scope of work in detail to avoid any misunderstandings. Ensure that the contractor you choose has experience with roof flashing repairs and is equipped to handle the specific requirements of your project. Prioritize hiring a contractor who is licensed, insured, and provides a written contract outlining the terms of the job. By hiring a reputable and qualified contractor, you can have confidence in the quality and reliability of the roof flashing repair work performed.
Supervising the Work
Supervising the work during the repair of your roof flashing is a critical component to ensure the job is completed to your satisfaction and meets all necessary standards. As the homeowner, it's important to communicate effectively with the roofing contractor and be present during the repair process. Verify that the contractor is following the agreed-upon repair plan and using the correct materials and techniques. Keep an eye out for any potential issues that may arise and address them promptly to prevent any complications. Regularly inspect the progress of the work to ensure it aligns with your expectations and that the flashing is being installed correctly to provide optimal protection for your roof. By actively supervising the work, you can ensure that the repair is done efficiently and effectively, ultimately leading to a reliable and long-lasting solution for your roof flashing issues.
Conclusion and Final Tips
In conclusion, repairing roof flashing is a crucial task to maintain the integrity of your roof and protect your home from potential water damage. By understanding the importance of roof flashing, following the DIY repair steps, and considering hiring a professional roofer when needed, you can ensure that your roof remains in top condition.As you embark on this repair project, remember to assess the damage carefully, gather the necessary tools and materials, prepare your work area, remove the old flashing with caution, and install new flashing accurately. Hiring a professional roofer may be necessary for more complex repairs, so research and select a contractor wisely, obtain quotes and estimates, and supervise the work to guarantee quality results.Remember to prioritize safety throughout the repair process and take your time to ensure the job is done correctly. By following these steps and tips, you can effectively repair your roof flashing and safeguard your home from potential leaks and water damage. Your diligence in maintaining your roof will pay off in the long run by extending the lifespan of your roof and protecting your home's structural integrity.

Quick & Reliable roof repair and installation Savannah Georgia
Ready to secure your property with top-tier roofing? Contact us today for reliable solutions that stand the test of time—your trusted Savannah roofing partner – Top Roof.
Navigation
Working hours
- Mon - Fri
- -
- Saturday
- -
- Sunday
- Closed
Powered by: WebPro.ai